How I Fixed Dell WD19Tb Dock Fan Running at 100% with Copper Heatsink

How I diagnosed and fixed a Dell WD19Tbs dock that ramped its fan to 100% — step-by-step hardware mod, testing, and alternatives.
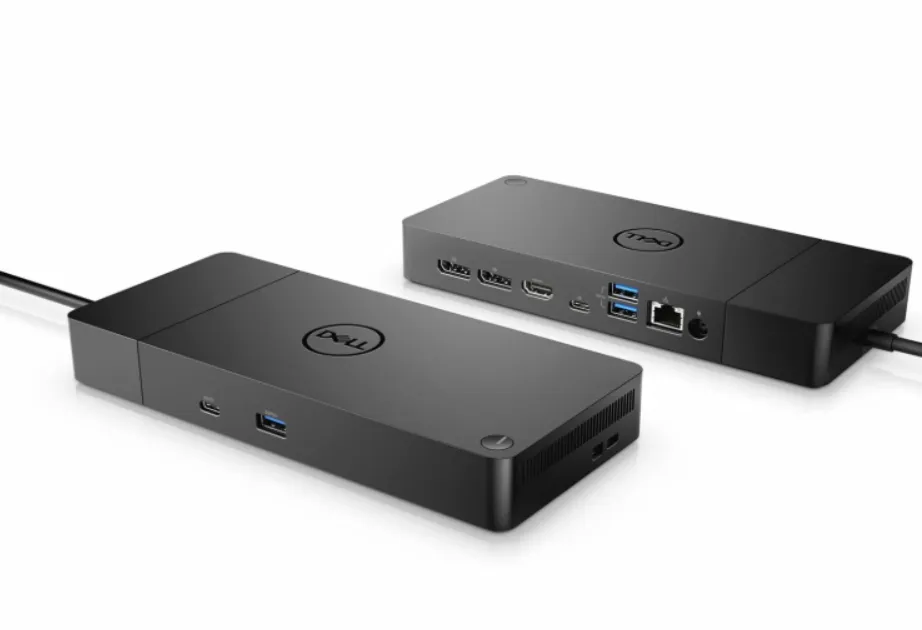
Summary
My Dell WD19Tbs (WD19TS family) dock’s fan would immediately ramp to 100% whenever it was connected to a laptop. After investigating the board and community reports, I identified thermal hotspots on a few controller chips and fixed the issue by adding small copper heatsinks. The mod reduced peak temperatures and stopped the fan from ramping aggressively.
What this post contains
- Diagnosis: how I confirmed the problem was thermal hotspots, not a faulty fan
- Parts & tools: what I used and why
- Step-by-step: how to open the dock, apply heatsinks, and reassemble safely
- Testing: how I validated the fix (before / after checks)
- Alternatives & precautions: other fixes and risks to be aware of
Diagnosis — how I knew it wasn’t the fan
- Behavior observed:
- Dock powered from mains only → fan silent
- Dock connected to laptop → fan ramps to 100%
- Noise correlated with display / USB activity
- Quick checks to perform yourself:
- Reproduce consistently: connect laptop and monitor fan behavior.
- Swap the host laptop/cable to rule out host-side power negotiation issues.
- With the dock open (see safety notes), feel for hot components (careful — do not touch powered components directly).
Community teardowns (useful for locating components): see Dan Charlton’s WD22TB4 teardown for reference and PCB photos:
- Dell WD22TB4 Dock Review and Teardown: https://dancharblog.wordpress.com/2022/10/24/dell-wd22tb4-dock-review-and-teardown/
Parts & tools
- Parts:
- Small copper heatsinks (3–6 mm height options; I used 4 mm). I purchased a 5-in-1 pure copper heat sink kit from zbotic.in which contained multiple sizes.
- Thermal adhesive (or thermal tape rated for electronics)
- Tools:
- Phillips screwdriver set (small)
- Plastic pry tools
- Isopropyl alcohol and lint-free wipes
- (Optional) IR thermometer or thermal camera for measurements
Identifying the hotspots
On WD19-family docks the likely hotspots are:
- Synaptics VMM5331 (MST/display hub)
- Realtek RTS5487 (USB 3.2 Gen2 hub)
- Realtek RTS5413D (USB hub)
These chips handle heavy USB and display traffic and can develop local hotspots that trigger the dock’s fan control.
Step-by-step: install copper heatsinks
Warning
opening the dock can void your warranty and risks damaging components. If you are not comfortable with small electronics, stop here.
- Power off everything and disconnect all cables.
- Unscrew the dock bottom screws (keep them organized) and carefully open the enclosure using plastic pry tools.
- Identify the target chips; use PCB photos from teardowns if unsure.
- Clean the chip tops with isopropyl alcohol and let dry.
- Apply a small dot of thermal adhesive (or a small piece of thermal tape) to the top of each chip.
- Press the copper heatsink onto the chip and hold until the adhesive sets. Arrange the heatsinks by size, placing larger sinks on the hotter chips and progressively smaller sinks on cooler components to optimize thermal distribution.
- Verify no heatsink touches any nearby metal shielding or tall components.
- Reassemble the dock and reconnect cables.
Tips:
- Use low-profile heatsinks that fit the enclosure height.
- Arrange heatsinks from larger to smaller, matching them to component heat output from hottest to cooler.
- Avoid excess adhesive — it can flow and bridge nearby pads.
Testing methodology (before & after)
- Reproduce the original problem and record baseline behavior (fan noise, time to ramp).
- Example: connect laptop, open a few high-resolution windows, watch fan ramp time.
- Optionally use an IR thermometer to measure surface temperatures of the hotspot chips.
- Approx command for a connected thermal camera or logging tool will depend on hardware — use the device’s app or an IR thermometer.
- Perform the heatsink mod.
- Re-run the same workload for 30+ minutes and observe fan behavior and temperatures.
Results I observed:
- Before: fan would rapidly ramp to 100% whenever laptop was connected under normal workloads.
- After: with the copper heatsinks installed, the fan stayed quiet during the same workloads for 30+ minutes. Peak surface temps were lower and more spread out.
Why this works (short explanation)
The dock’s fan control responds to local peak temperatures. By spreading heat away from hotspot chips using copper heatsinks, peak temperatures are reduced, so the fan controller does not trigger aggressive ramping.
Alternatives and when to use them
- Replace/clean thermal pads: useful if the dock has aged thermal interface materials.
- Add a small airflow modification: not recommended unless you understand the enclosure airflow.
- Replace fan or controller: hardware replacement is a last resort.
FAQ
- Q: Will this void my warranty? A: Possibly — yes. Opening the dock often voids warranty.
- Q: Can I use aluminum heatsinks instead of copper? A: Yes; aluminum has lower thermal conductivity than copper but will still help.
Safety & disclaimer
This post documents a hardware modification I performed on my own dock. Follow at your own risk. I am not responsible for any damage or voided warranties.
References
- Dan Charlton — WD22TB4 teardown and PCB photos (useful reference for locating components):